TIG welding aluminum can be challenging even for experienced welders, and repairing aluminum parts can be even harder.
Repairing aluminum tools and parts can be a hassle, but some basic welding advice can make it easier. That’s why we decided to make it easier for you.
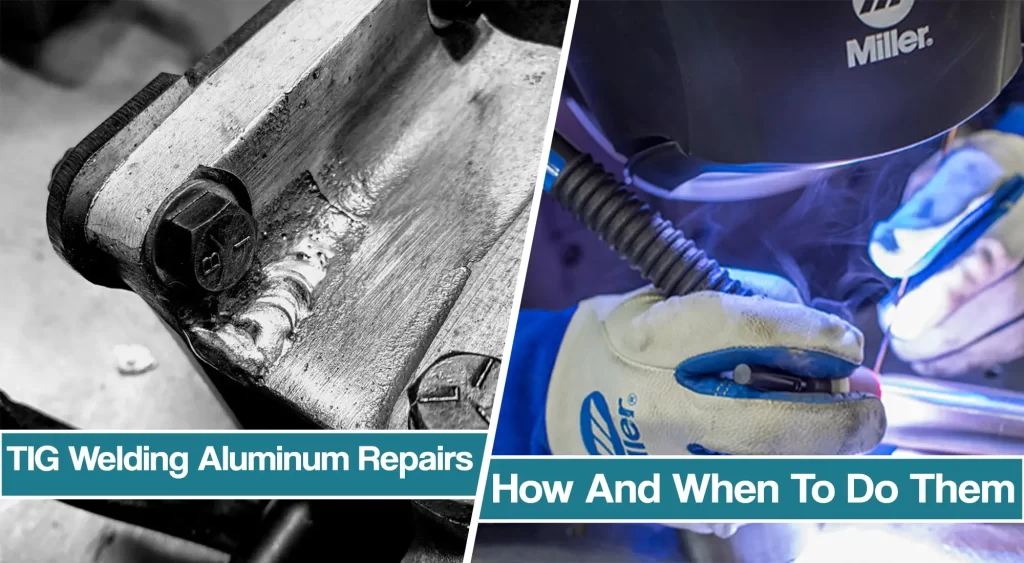
Keep this article handy as a “cheat sheet” for your next TIG aluminum repairs to make sure you get back to work with the strongest tool possible.
Aluminum Welding Repair – Should You Do It?
Each repair is unique and should be evaluated to determine the most effective course of action for your production schedule and tool availability.
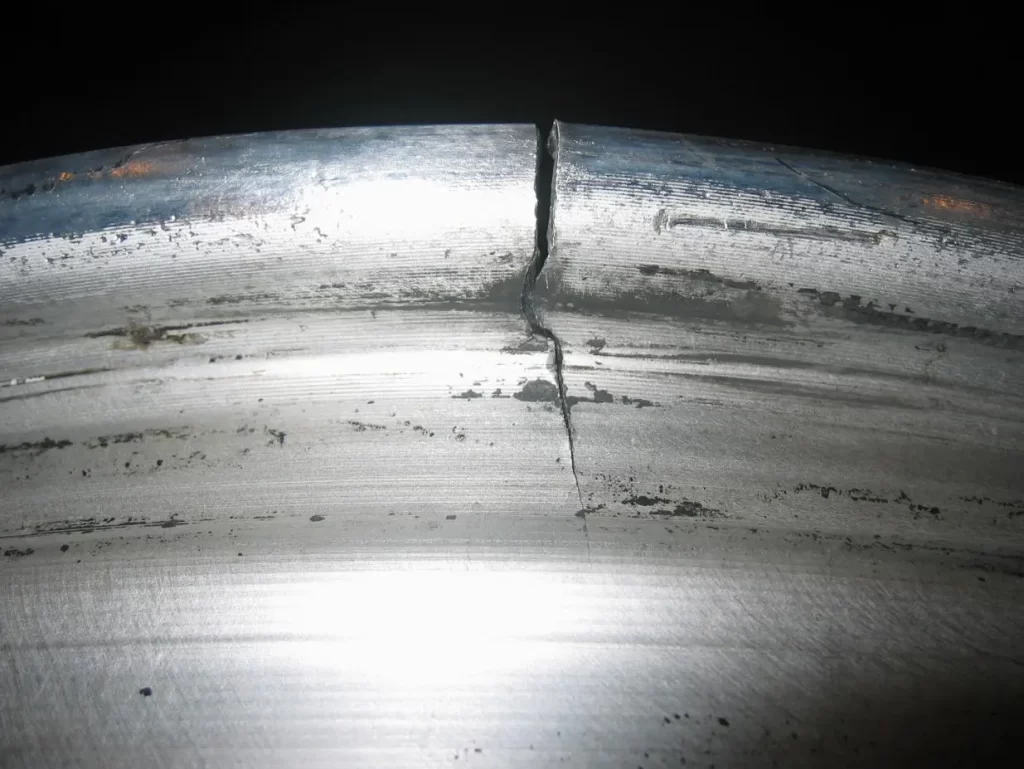
First, don’t burden yourself by trying to salvage a component that is beyond repair. A part with multiple fractures and/or one that is easily and inexpensively replaced should be replaced; it will save you time, money, and frustration in the future.
On the other hand, if the tool has only a few cracks or it is a part that can undergo proper and timely welding repairs, then do proceed.
As a rule, the gas tungsten arc welding (GTAW) process is best for repairing aluminum.
To ensure arc stability, you should use a TIG welding machine with high-frequency capabilities. All AC/DC machines have this built-in feature, but an AC-only machine may require an add-on external high-frequency component. Balanced wave control is also a necessary feature when TIG welding aluminum, as it increases cleaning action to remove surface oxides.
Most aluminum TIG welding repairs don’t include thicker aluminum, so you won’t exceed 80 amps to 100 amps. Therefore, a 200-amp power source matched to a 200-amp air-cooled or water-cooled TIG torch will suffice. Also, be certain your power source has post-flow capabilities to prevent tungsten and weld puddle contamination, and make sure you control heat input, since too much heat can easily burn through thin aluminum.
Aluminum TIG Welding Repair Preparation
Proper joint preparation is the most important step in aluminum gas tungsten arc welding repair. Dirt, grease, oil, and aluminum’s natural oxides can weaken the corrosion resistance of repaired parts by causing porosity, inclusions, and other discontinuities.
Follow these steps for the cleanest and strongest possible TIG welds.
- Disassemble and remove the part if it is part of a larger component such as a cylinder head whenever possible. The heat from the TIG welding process can be dangerous to surrounding items such as motors and wiring.
- Bevel the crack/joint down to a “V” halfway through the damaged part. Then tack weld it together and flip the part over. Bevel out an identical “V” groove on the opposite side and tack that together (Figure 1). Welding on both sides adds strength and reduces any chance of breaking. If you cannot access both sides of a damaged piece, simply bevel deeper so that 70 percent to 80 percent of the damaged part’s thickness can be filled with weld metal. Use a hand grinder with a 4½-in. diameter wheel and 36-80 grit to bevel the damaged crack/joint. Grit finer than 300 can clog the grinding wheel and won’t grind the joint effectively. It could even embed impurities deeper into the aluminum. You also can use a bench grinder to bevel the part.
- Use a stainless steel wire brush designated for aluminum to clean out the joint. A wire brush removes dirt and any of the oxides that may still reside on the aluminum’s surface.
- Use a specifically designated aluminum cleaner to remove any lasting remnants of oil, grease, and moisture from the joint. Also, wipe the opposite side clean so that no impurities are pulled through the aluminum and into the weld puddle. Most TIG power sources provide good cleaning action; however, you should never rely solely on this feature to do the job for you.
The Right TIG Welding Repair Choices
Aluminum Repair Shielding Gas
Pure argon is the recommended gas for aluminum and cast aluminum welding and is suitable for 95 percent of all repairs.
An argon/helium mix can be used when welding on thicker materials — greater than ⅜ in. The addition of helium creates a hotter weld pool, compared to pure argon, and enables the operator to weld on thicker material.
Shielding gas flow should be set at 15 cu.ft./hr. to 20 cu.ft./hr. (CFH) when welding in the flat position.
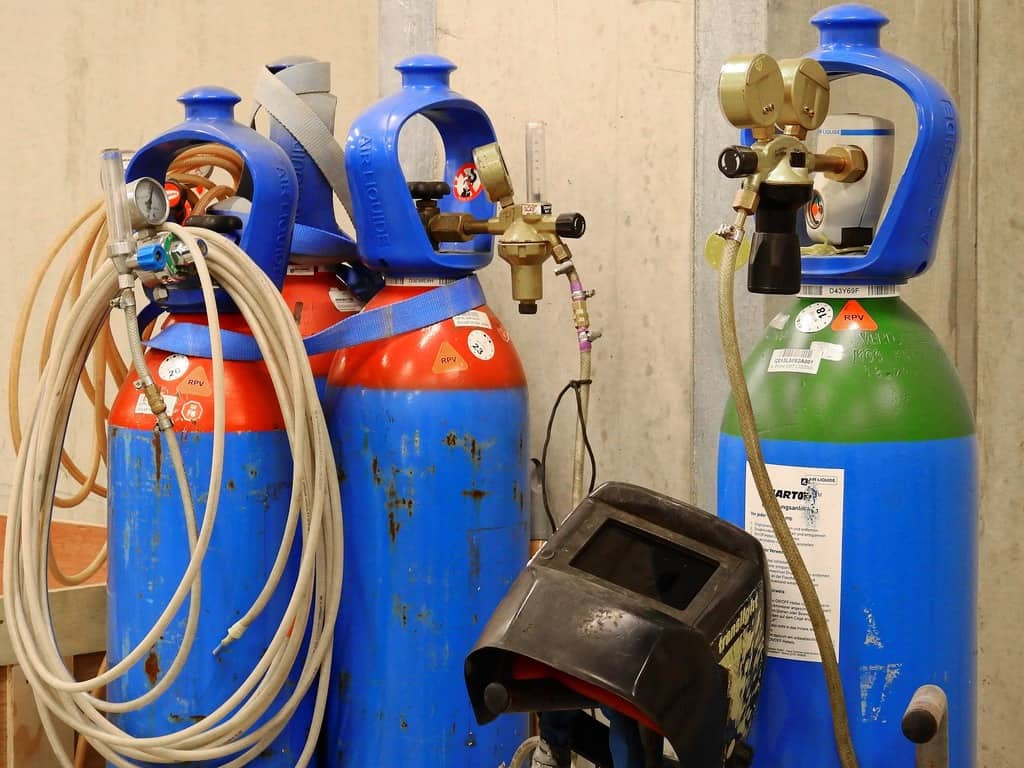
For out-of-position welds, or when welding where there is air movement, adjust the flow rate to 20 cu.ft./hr. Be careful not to use too much shielding gas, as it can lead to turbulence in the weld puddle that can create porosity and pinholes.
Proper Tungsten Choice
For welding repairs on aluminum, 2 percent ceriated tungsten sharpened at the tip is good all-purpose tungsten for AC welding, as it allows the use of 30-percent more amperage compared to pure tungsten.
Sharpened (or pointed) tungsten also offers easy arc starts and a narrow heat-affected zone, along with the ability to control penetration on aluminum heads more accurately.
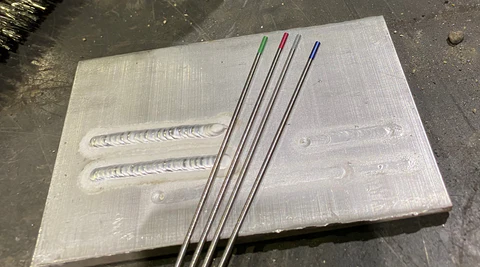
A 3/32 in. diameter tungsten is adequate for most repairs but a ⅛ in. diameter tungsten should be used on ⅜ in. or thicker materials and larger castings.
Not surprisingly, tungsten preparation and cleanliness are just as important as joint preparation. Grind the tungsten on a grinding wheel so that the grind marks run lengthwise, as this helps to control arc wandering.
If the tungsten accidentally becomes contaminated during the welding process, cut back ½ in. from the contaminated point and reshape the tungsten. Simply grinding off the surface at the contaminated point won’t work because there is no way to determine how deep the contamination runs.
The tungsten should extend no more than 1½ times the diameter of the tungsten. Following this basic rule increases visibility and reduces the possibility of touching the tungsten to the weld puddle.
Filler Metal Choice
There are two major classifications of TIG filler metals used to repair aluminum and retain adequate tensile strength: ER4043 and ER5356.
ER4043 is a general-purpose filler rod to use if you are unsure of the exact chemical makeup/composition of the part.
ER5356 is used when TIG welding on anodized aluminum because it provides a proper color match after the anodizing process is completed; if an ER4043 rod is used and the part is anodized, the weld zone will appear as a dark gray, unattractive area.
The diameter of the filler rod is determined by the thickness of the broken part.
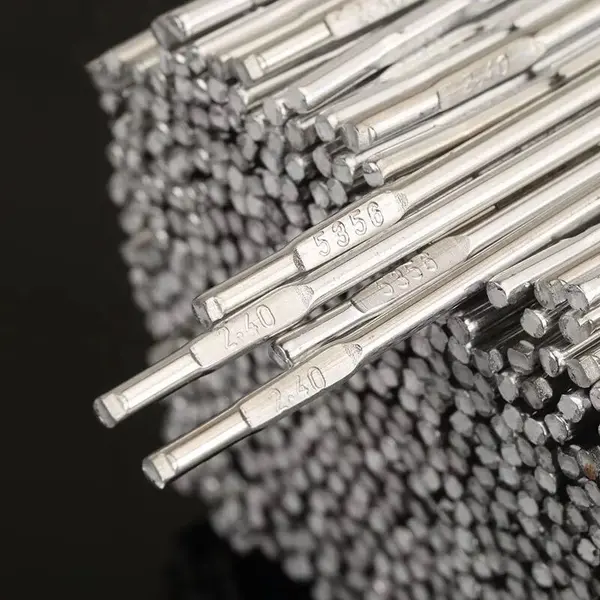
However, the most common are 3/32 in. and ⅛ in diameter. To ensure the filler rod is free of contaminants that can result from open storage, or from laying on dirty work surfaces, use an abrasive pad to clean it before welding.
Proper TIG Aluminum Repairs Technique
If possible, situate the part in a flat position. Hold the tungsten ⅜ in. away until the arc is initiated. Do not touch the tungsten to the aluminum at the risk of contaminating the workpiece. Also, using a lift arc start with a conventional AC machine is not recommended for aluminum TIG welding.
A good practice is to maintain an arc length equal to the diameter of the tungsten you are using.
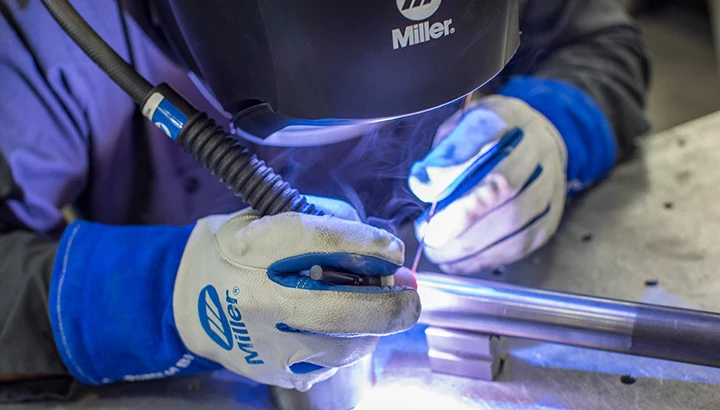
For example, if you are using 3/32 in. tungsten, you should have a 3/32 in. arc length. Once you’ve started your arc, the first pass on the aluminum is going to be dirty even if you have cleaned it perfectly. Aluminum acts as a sponge, and there are almost always contaminants embedded in it. For this reason, weld the first pass down the length of the beveled joint without adding any filler rod. This will allow you to “boil” out as much dirt as possible. Then brush off any contaminants that came to the surface on the first pass.
Begin to add a filler rod on the second weld pass. There may still be some dirt surfaces in the weld bead, but the joint will become cleaner with each pass. Brush the joint and repeat this process until you have completely built up and repaired the part. If pinholes or porosity show up, do not hesitate to grind them down, brush the area, and weld again. Doing so ensures a stronger weld and helps remove even more contaminants.
Different Aluminum Repair Projects
The TIG welding process is slightly different when repairing a hole in a part instead of a crack.
First, you need to clean out the hole with a toothbrush-sized stainless steel brush, then weld around the edges of the hole to remove any contaminants without adding a filler rod.
Next, you should use a file to remove any jagged edges.
Once you have gotten the hole down to good material you can begin welding and adding filler rod.
Weld in a circular pattern around the hole to build it up from the outside in.
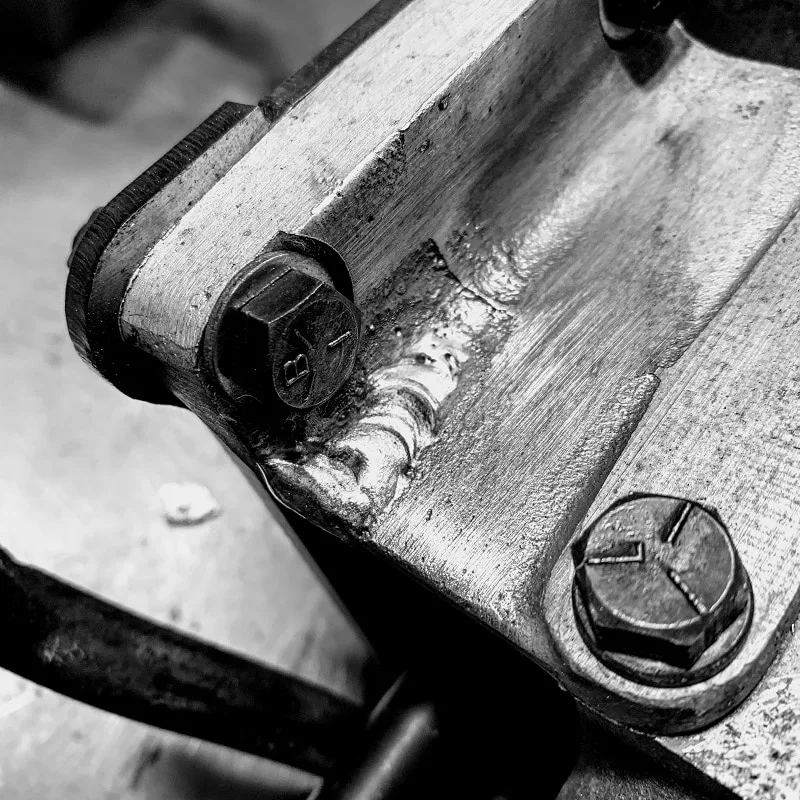
Fill in the hole and then weld around the top of the hole to flatten out the weld. Finally, grind off any weld that may be protruding from the backside reducing crack sensitivity.
Final Thoughts
Always remember to use the utmost discretion when repairing your aluminum parts or cylinder heads. First determine whether the part can and should be repaired, and take the proper precautions during the TIG welding process to expedite the repair.
After all, the goal is to get the part back to work in a timely and efficient manner, and, of course, to save time and money for future repairs. If you mastered how to repair aluminum, we also have a pot metal repair guide you can check.


